Tada!!!


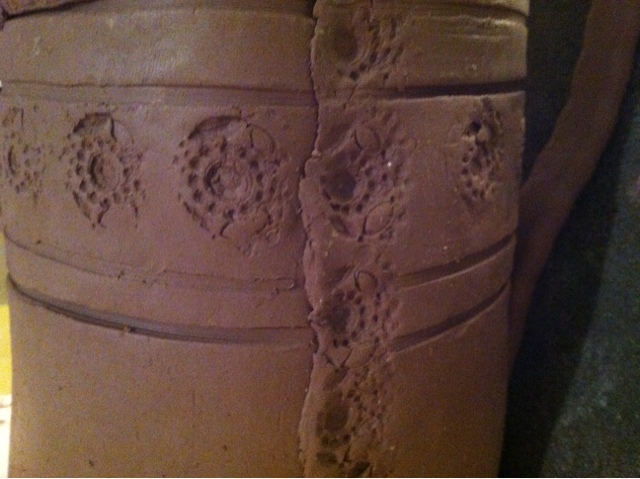
Pretty pleased with this teapot. It just sort of happened. I had no plan when i started...not feeling too good and wasnt looking forward to this teapot. But, it turned out sweet. I was pulling a handle off the side of the pot and it ripped off, leaving a little stub. So, i looped it into a circle. This inspired the front loop. So i had two loops and it looked really silly...but...wait....haha those loops would make great platforms for an overhead handle! And tada...i just went crazy decorating, adding loops and coils. Then i thought id draw loops on the side, but they looked like sea anemones instead. Haha so, ya i like it because i love anything underwater/mermaid related. Im not going to glaze the whole thing, to emphasize texture! Super duper excited! No to sleep and feel better :)


Yeah! Boom! Very excited about this one! Yeeeaah! I love the handle. I was looking through my newest pottery magazine and loved a few pieces that had super intricate carvings. Anyways, i got inspired and ran down to my new studio and got started. I threw the pieces and when it was time to assemble i cut some extra clay off a few pieces and gathered them into a long, rough coil. I loved how this looked and decided to turn it into a handle. This handle looks like a cool branch and it inspired my leaf carvings. I also love the lid. It fits great and works well with the form. Yay!


This teapot was inspired by a special order im working on for a customer. The base holds a lit tea light and that little flame Keeps your tea warm!
I threw the teapot like a bottle, the spout was the rim of the bottle. Then sat it on its side and added a base. I am going to expand on the bottle/teapot idea. Its fun and I like the idea of this continuous line. I like the lid, it looks like a hat!
This teapot is in honor of my beloved french press. I love my french press. It makes my coffee at home taste as good as any coffee shop! This geometrical design was waaayyy out of my comfort zone. I'm usually free and organic, even curvy. So this teapot took some time. I am so proud of the lid. It fits so nicely :).


This teapot was done on Friday...but I only now posting it. All snuggled up and ready fir bed...then...wham! Ahhh forgot to upload pics! Grrrrrrr...hate that. Anyway, this teapot is simple elegance. Smooth with soft curves. I think it is refreshing in contrast to my recent ones.


This teapot is another double walled teapot. I think it was the 3rd or 4th teapot that I made during this challenge that was also a double walled teapot. I prefer this one :). I love cherry blossoms and this is my take on the tree. This will be the first time I add a handle on after the whole teapot is finnished. I find myself saying that phrase ("this is the first time I've...") a lot in this blog. I think that's a good thing. It's kinda what this blog is about. About the handle, I haven't made up my mind yet, but one of my favorite potters (www.goodelephantpottery.com) just published a blog about making your own cane handles. I'd love to make my own handle as opposed to buying one. I also talked to a potter at the ann arbor art fair who uses electrical wire...it was really cool.


I could not think of a name for this beauty! I need your help! Whoever suggests the coolest name will get to name this teapot :).
I started out by throwing the lid and spout of the hump (as usual) then, with the leftover clay, I threw a pad of clay about 1/4 inch think. I undercut that and set it aside. Then I threw the cone shape without a bottom. After I cut it off the wheel I picked it up and pressed in on the sides creating an oval. Then I placed the oval cone onto the already scored pad I threw earlier. I let everything set up and assembled everything.
I love the bottom. The little wiggles are fun, but also echo the handle and curve I cut out on the end of the spout. The body is sort of triangular and I used my slip spikes to emphasize this by making the spikes in the shape of triangles.
Once again, I sketched this out beforehand (not detailed, but enough) and I think it shows! I'm so very happy with this teapot. It's the first time I've made an oval form this way and I'm going to us it in my work more often.


Heres pics of the hula teapot :). I love how the flowers turned out. I painted them on, the scratched through the red for their details.


